Kylin OS Fingerprint Login Guide with kika Wireless Mouse
Have you ever grown weary of the tedious process of logging into your operating system? Entering passwords is both a hassle—you fear forgetting them or having them peeked at. Now, a safer, faster way to log in has arrived—fingerprint recognition. For users currently using or considering China’s domestically developed Kylin operating system, pairing it with an advanced wireless fingerprint mouse enables an amazing one-finger login experience.
This article will guide you step by step on how to easily set up and use fingerprint login on the domestic Kylin OS using your wireless fingerprint mouse. This isn’t just a technological upgrade—it’s a revolution in efficient work and daily life.

Why Choose Fingerprint Login for Kylin?
Before diving into the tutorial, let’s explore its core advantages:
Advantages of Kylin OS Fingerprint Login
Ultimate Security: Your fingerprint is a unique “biometric password” that cannot be replicated or guessed, offering far greater security than traditional numeric passwords.
Ultimate Convenience: No need to remember complex passwords. A simple touch instantly wakes and logs you into the system, significantly boosting efficiency.
Seamless Experience: Integrating biometric technology with everyday peripherals (like mice) ensures natural, fluid operation with zero learning curve.
Native Compatibility: As China’s leading domestic OS, Kylin continuously refines hardware ecosystem compatibility, providing robust support for innovative peripherals like wireless fingerprint mice.
Preparation: What Do You Need?
Before beginning, ensure you have the following “equipment”:
A computer running the Kylin operating system (such as common versions like Galaxy Kylin or ZhongBiao Kylin).
A wireless fingerprint mouse supporting fingerprint recognition (such as our kika Security brand wireless fingerprint mouse).
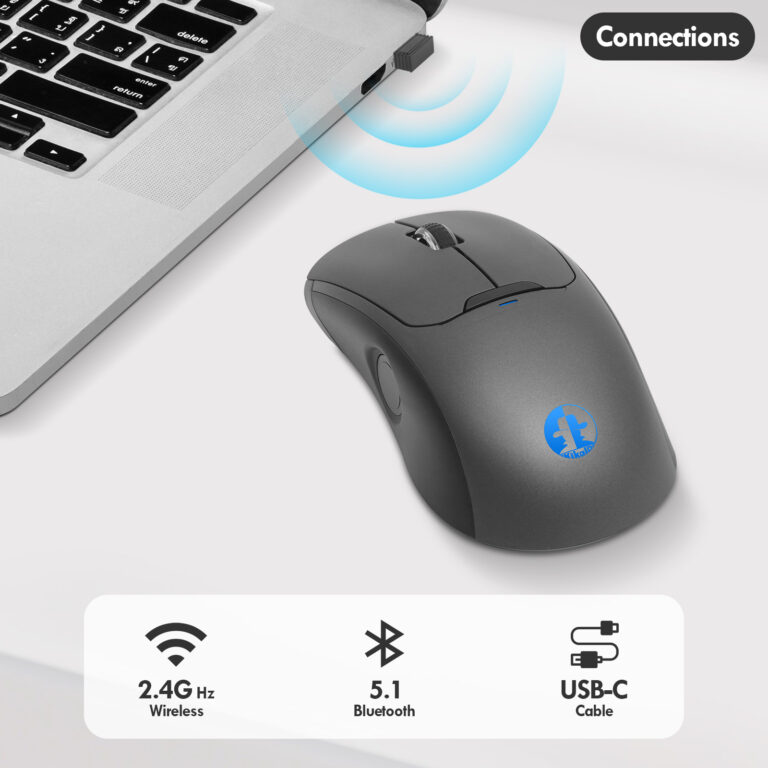
Verify your wireless fingerprint mouse is successfully connected to the computer via USB receiver or Bluetooth mode, with smooth cursor movement and click functionality.
Download and install the driver from the kika Security official website (www.ab2cd.com).
Core Steps: How to Set Up Wireless Fingerprint Mouse Unlock for Kylin OS?
The entire setup process is clear and straightforward, as logical as assembling LEGO blocks. Follow these steps:
Step 1: Connect and Verify Device
First, insert the wireless receiver into your computer’s USB port or complete Bluetooth pairing. Ensure the mouse cursor moves freely. At this point, the Kylin system typically auto-detects and installs basic drivers.
Step 2: Access System Settings
On the Kylin desktop, click the “Start” menu (or similar app launcher) in the bottom-left corner. Locate and click the “Settings” icon (usually a gear symbol).
Step 3: Locate the Accounts & Security Option
Within the Settings menu, look for options labeled “Accounts,” “Security & Privacy,” or “Biometric Recognition.” While naming conventions may vary slightly across different Kylin OS versions, the core functional area remains consistent.
Step 4: Enable Fingerprint Recognition
Within the “Accounts & Security” settings, locate the toggle for “Fingerprint Recognition” or “Fingerprint Login” and activate it.
The system may prompt you to enter your current administrator password for authorization—a necessary security verification step.
Once enabled, the system will guide you through enrolling your fingerprint.
Step 5: Enroll Your Fingerprint (The Most Critical Step)
The system will prompt you to place your finger on the fingerprint sensor. Please note: At this point, you need to place your finger on the fingerprint recognition module of your wireless fingerprint mouse, not the one built into your computer (if applicable).
Follow the on-screen instructions to slowly move and lift your finger multiple times, ensuring all angles and details of your fingerprint are captured. Typically, about 10 scans are needed until the progress bar reaches 100%.
Pro Tip: To account for wet fingers or injuries, we recommend capturing multiple angle samples of the same finger or registering another finger as a backup.
Step 6: Verify and Enable
After enrollment, the system will prompt you to verify with the newly enrolled fingerprint. Gently touch the sensor on your wireless fingerprint mouse. If successful, the system will display “Fingerprint enrollment successful.”
Now, lock your screen (usually by pressing Win + L), then try unlocking it with a light touch of your wireless fingerprint mouse. Witness the magic!
Frequently Asked Questions (FAQ)
Q: What if my wireless fingerprint mouse isn’t detected?
A: Ensure the mouse is powered on and connected stably. Try unplugging and replugging the receiver, or restart your computer. Some specific wireless fingerprint mouse models may require downloading and installing dedicated drivers from the manufacturer’s website.
Q: Why does fingerprint recognition fail frequently?
A: Ensure your finger is clean and dry. During enrollment, capture as many areas of your fingerprint as possible. You may try deleting old fingerprint templates and performing a high-quality re-enrollment.
Q: Can fingerprint login and password login coexist?
A: Absolutely! Fingerprint login simply offers a more convenient option. You can still use traditional passwords for system startup or critical security verifications.
Integrating the wireless fingerprint mouse with China’s Kirin operating system to enable fingerprint login is far more than a simple feature overlay. It represents a leap forward in personal computing security and convenience. Whether you’re an efficiency-driven professional or a privacy-conscious tech enthusiast, this solution delivers a near-perfect answer.
Experience our Shenzhen kika Security wireless fingerprint mouse today. Feel the exhilaration of accessing your system in seconds with a single touch. Let technology serve you, and let security follow you like a shadow.
Welcome to customize our wireless fingerprint mouse for your business. For inquiries, please contact me at : hndxzlp@gmail.com